Read Time 5 mins | Written by: VELUX Skylights
With the new VELUX Visualizer App, it's easier than ever to reimagine any room in your home with natural light through skylights. Using your phone's built-in camera, this augmented reality (AR) app allows you to add, customize, and explore our skylight products in real time.
But...exactly how does it work?
Using the VELUX Visualizer App
The first thing you'll want to do is download the VELUX Visualizer App from the App Store. Unfortunately at this time, the app only works on iPhones, but Android capabilities are coming soon. In the App Store, it's called "VELUX Skylights AR," so make sure to select that one to download.
Once you've gotten the app and opened it, you'll see you have three options: View Products, Find an Installer, or select a flat or vaulted ceiling to get started visualizing your skylights.
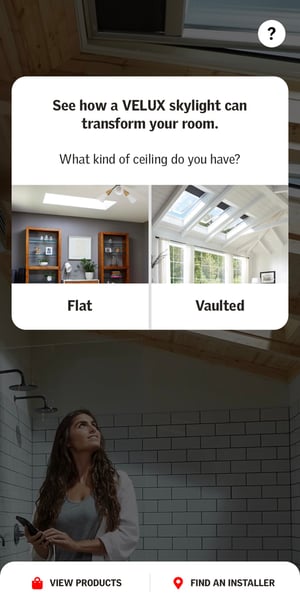
Since this is our first time in the app, let's jump right in and select a ceiling type! For this example, I'll be using the vaulted ceiling in my apartment, but if you're following along at home, select the appropriate ceiling type for where your skylights will go. Once you select Flat or Vaulted, you'll have the option to choose your skylight:
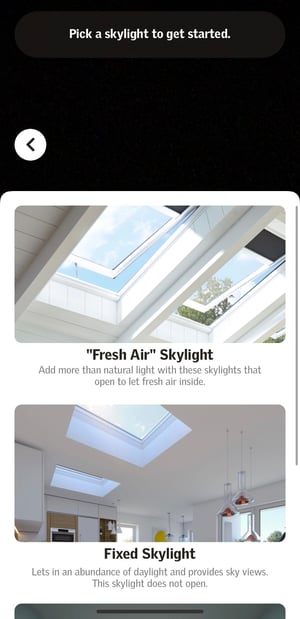
On this screen, you'll have the options of "Fresh Air" Skylight (VELUX's term for venting skylights), Fixed Skylight, or Sun Tunnels. I'd like my imaginary skylights to bring in fresh air from time to time, so I select "Fresh Air" Skylight. Now, it's time to pick how many!
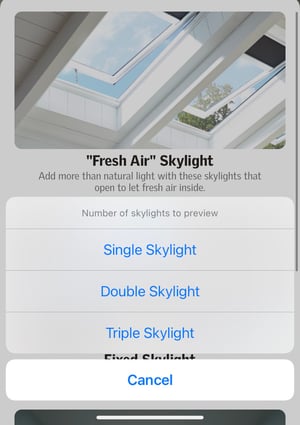
You can choose a single skylight, double skylight, or go big with a triple skylight placement. My ceiling seems just big enough for two skylights, so I select Double Skylight. Once you select how many skylights you'd like, you'll see this message:
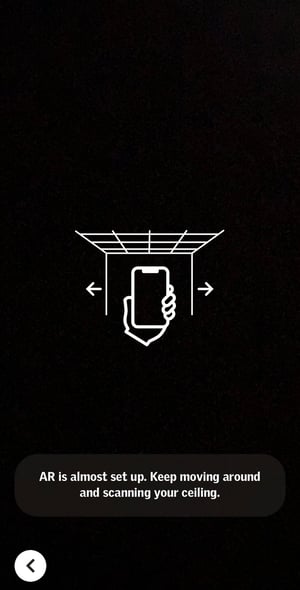
Once you get this message, it's time to give the app an idea of what the room you're in looks like. Start by pointing your phone at your ceiling and all surrounding angles and corners of the room. Walk around the room to capture different angles, then tap the screen to place your skylight once you're done. The next couple of steps may be a little tricky at first, but the longer you play with the app, the easier they'll become!
After you've scanned the room and tapped your screen, a placement grid will pop up on the screen along with this message:

For this step, just focus on the black grid lines. On your screen, pinch your fingers to zoom the black grid lines in or out, or to turn them so they're in line with the area of the ceiling where you're visualizing skylights. Once you've got it lined up, tap the check mark in the circle at the bottom of the screen. Next, we'll straighten out the skylights.
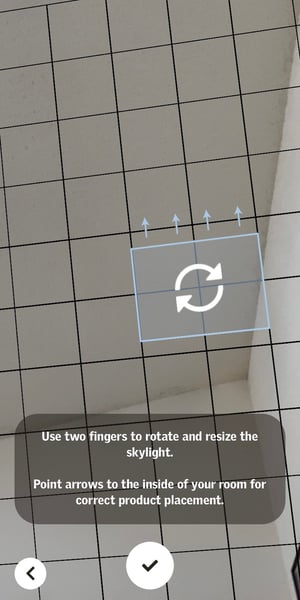
Now, we're focusing on the blue box. Once again, pinch the screen to zoom and position the box. Make sure the arrows outside the box are pointed toward the interior of your room so your skylights appear to be correctly placed. Then, press that checkmark again and get ready because...
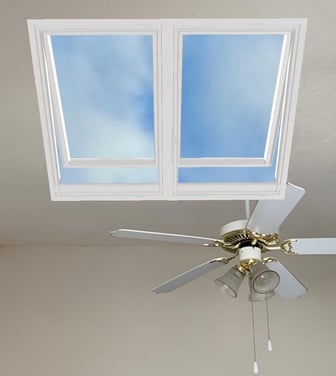
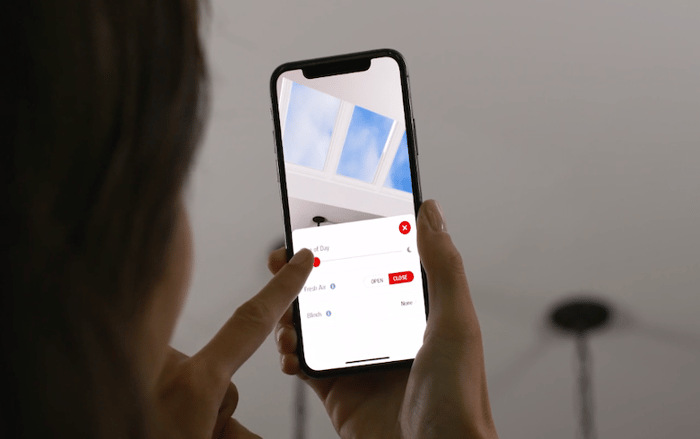
It's time to visualize your skylights! Here are my double "Fresh Air" Skylights, open during the day. I can almost feel the breeze!
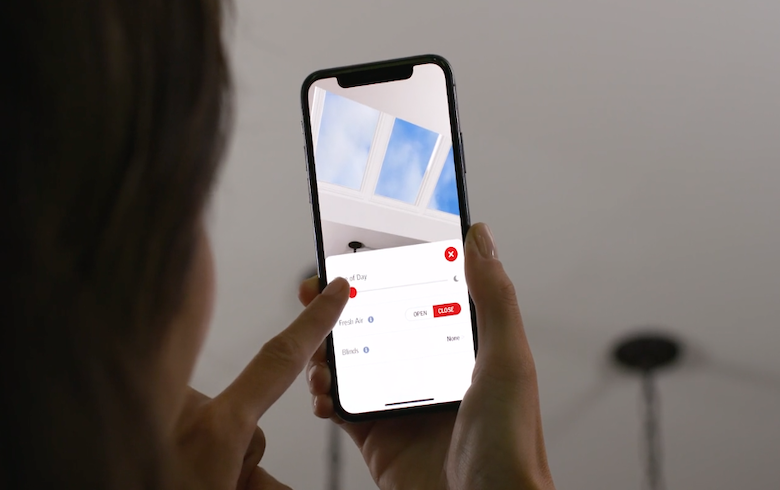
Once your virtual skylights are in place, you can open or close them and change the time of day.
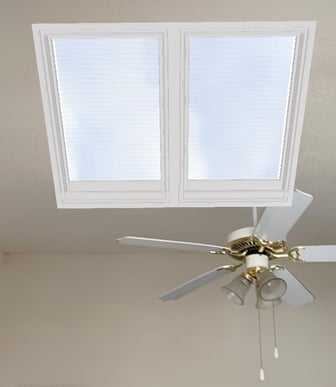
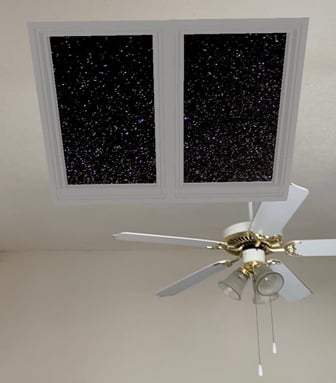
You can even add blinds! Here's what my "Fresh Air" Skylights would look like during the day with white, light-filtering blinds. And you can see what blackout blinds would look like in your skylights too!
Other Areas of the App
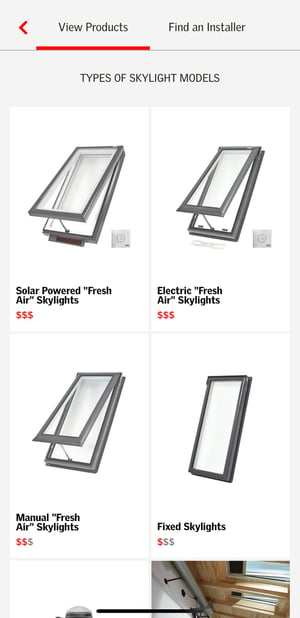
Once you're done seeing what skylights will look like in every room of the house, there are a few other ways to use the VELUX Visualizer App. If you want to learn more about the different skylight types, tap the "View Products" option on the home screen, and the app will list our most popular products.
Once you select a skylight, you'll be taken to a screen with a short blurb about the product, a list of features, price ranges, and reviews. From this screen, you can also find an installer nearby to get your project started.
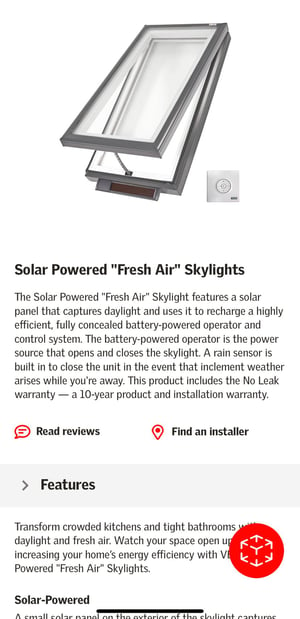
You can also tap that little red circle with the cube inside to open the AR part of the app back up and virtually install that type of skylight in your room.
But say you've created every skylight configuration you can think of and read up on all the VELUX product types. In other words, you're ready to install. From the home screen, you can tap the "Find an Installer" option for a list of VELUX installers in your area.
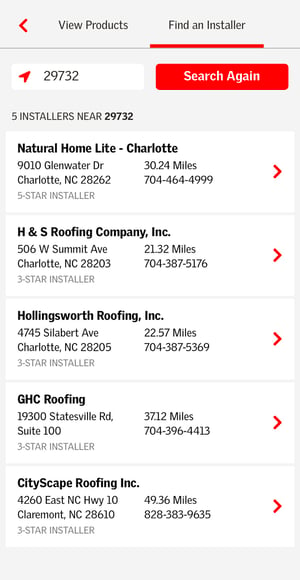 You can use the location services on your phone or type your zip code into the search bar. Once your list is populated, you can tap each installer for more information, including their consultation phone number and a map for directions to their showroom if they have one.
All in all, a pretty simple way to see how skylights would look in your home, don't you think? But don't worry - if you ever get stuck in the app, the help question mark in the white circle on the home screen can take you through all the steps again. Or schedule a virtual consultation to talk more in-depth with a VELUX expert about turning your virtual skylights into a reality!